Do you remember making the macaroni picture frame in grade school, spray painting it gold and putting your picture in it as a Christmas gift? Our kids may still make us wonderful gifts using their creativity and lots of glue, but as adults, there are ways we too can share our favorite photos and memories at the holidays.
During the holiday season everyone is extra busy decorating, shopping and planning their holiday events. Remember taking time to spend with your family and friends is the heart of the holiday spirit. Many people take pictures or go to a professional to have their photography done but never print or hang their images in their home. Take some time this holiday season to create photo gifts to hang at Christmas or enjoy all year.
If you are the Martha Stewart type, you already know the detailed steps for creating photo montage trays and snow globes made with cut out images of each family member from last winter’s photos. Not everyone has the time or desire to spend days on their holiday projects. I have added a few quick, inexpensive and easy ways to share some of your favorite memories either on your Christmas tree or as gifts.
Photo Ornaments
There are many varieties of photo globes, some made with glass tree ornaments, some filled with fake snow and require you to roll your pictures up to get them into the ball.
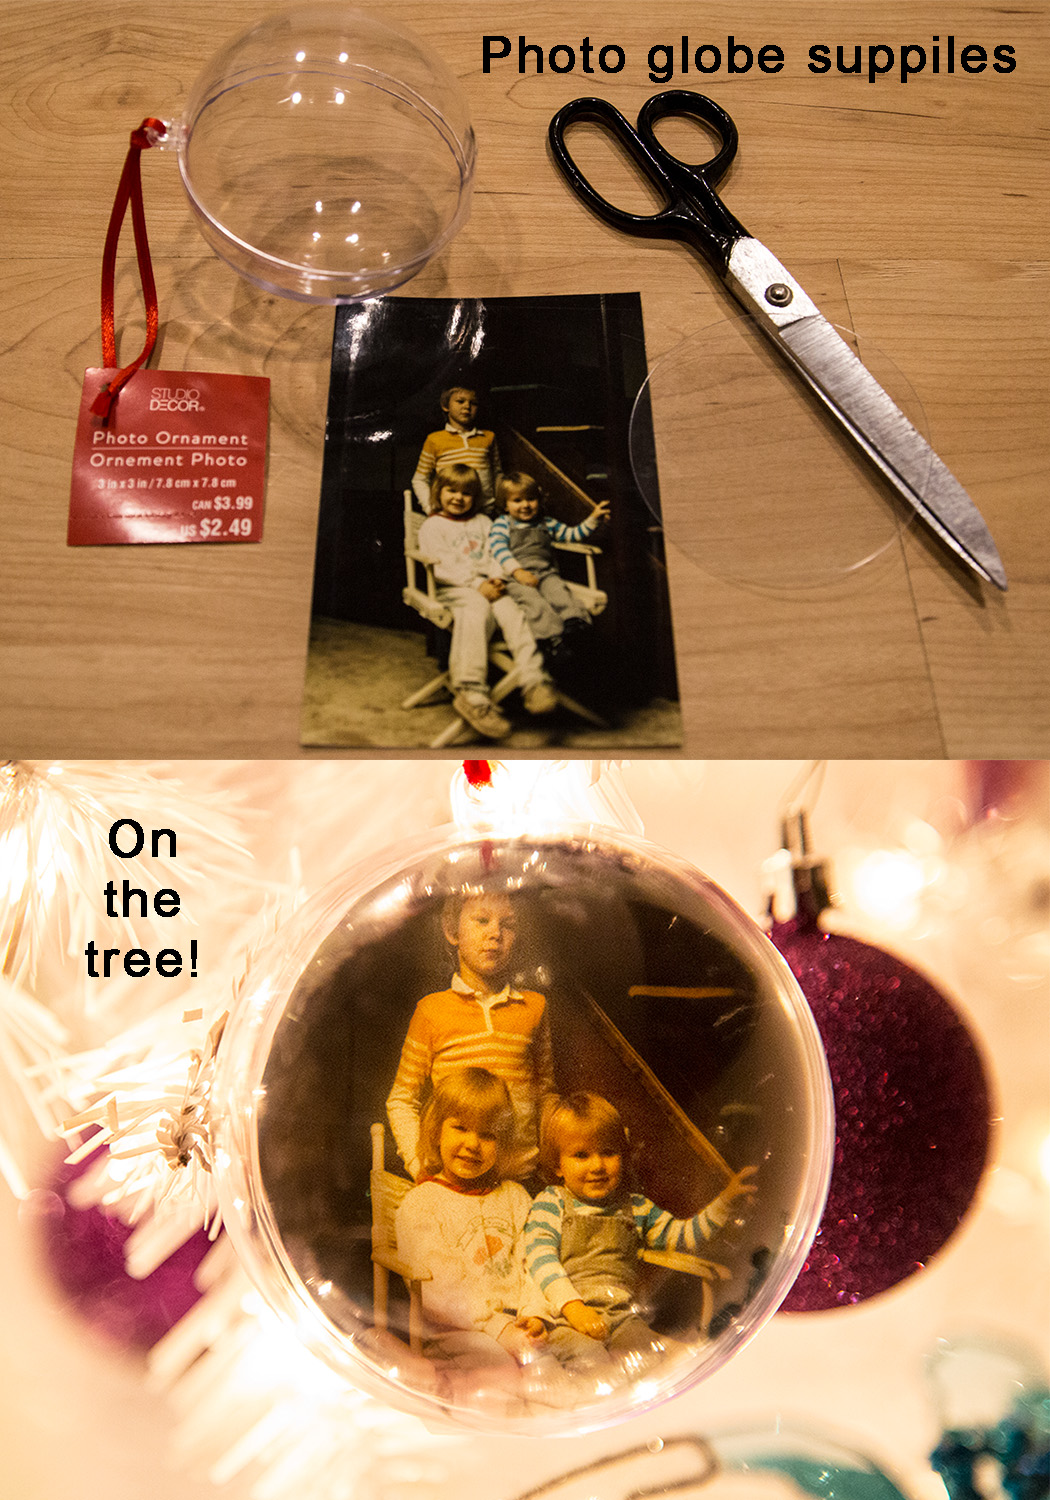
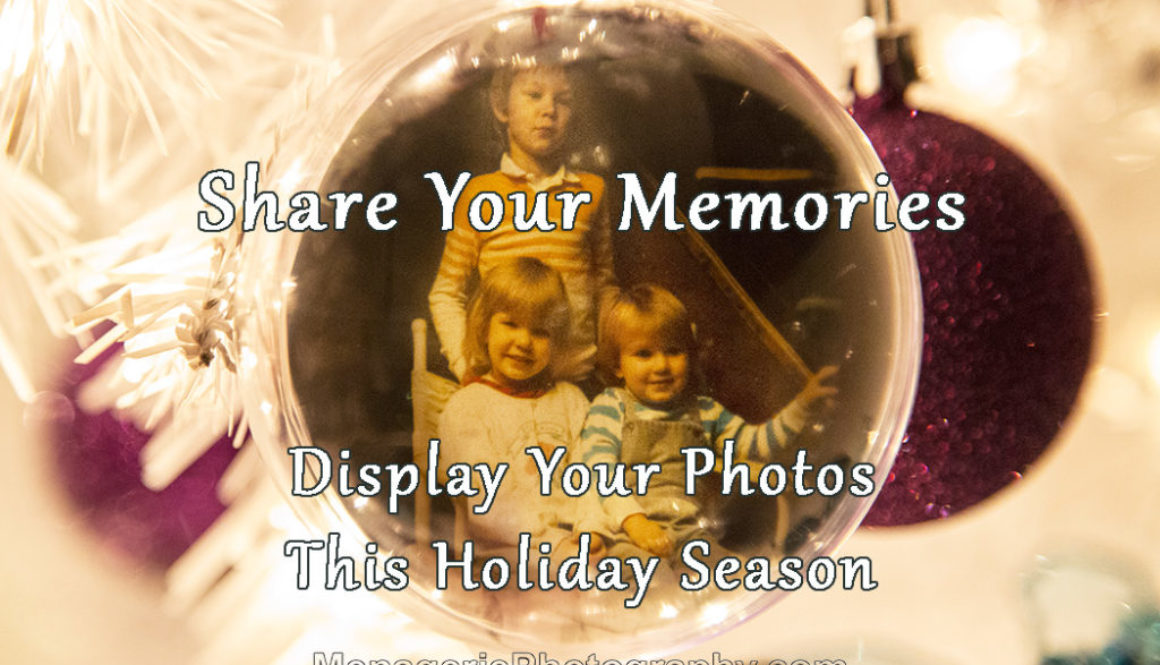
I picked the straightforward process of using the Photo Ornament ball from Michael’s Craft store.
These balls easily open to allow you to insert your image and come with a clear template you can use to ensure your image is cut to the proper size.
Being clear front and back, you have the option to add a note on the back of the picture or you can do two images back to back. You can also still add fake snow at the bottom or use glue and glitter to decorate the balls but they look great without extra added.
The ball cost me less than $3.00 and I used a copy of a photo of my children when they were little.
**Always remember to use a copy of your photo and not the originals when making craft projects. Reprints are very reasonable at your local photo counters.
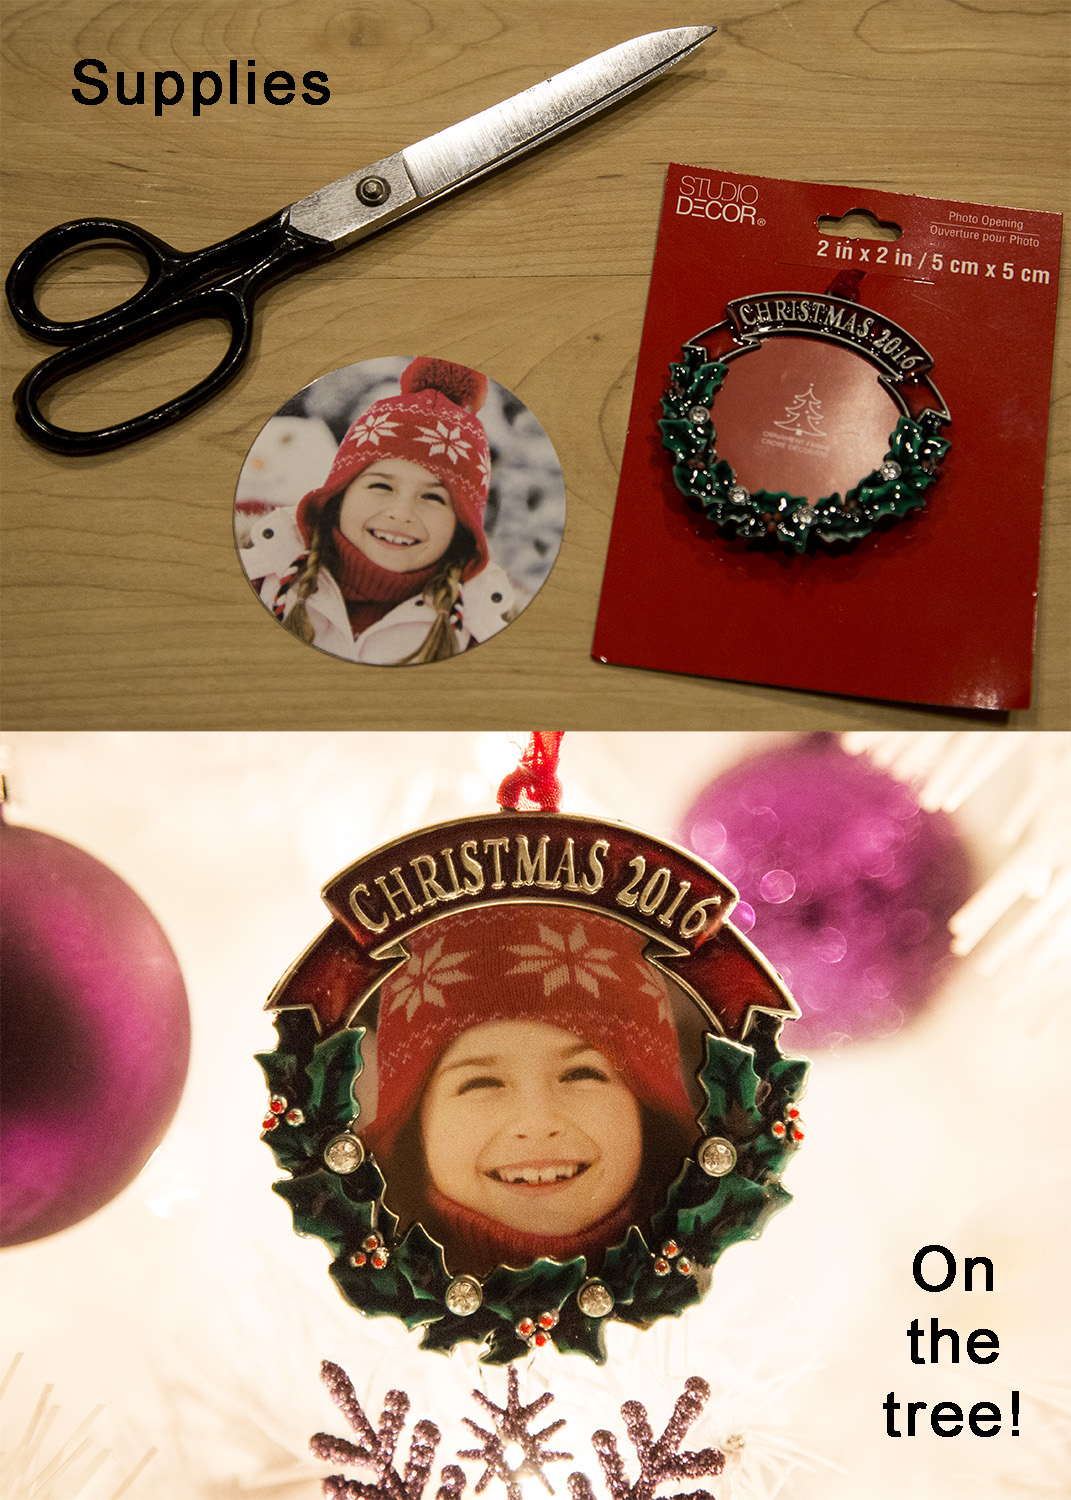
Another quick way to enjoy favorite images every year it to start a tradition of hanging a photo ornament with the current year and a place for your favorite picture. These are fun and can be great conversation topics when the kids are older and bring home a significant other for Christmas. If you have more than one child, hanging one for each every year, can create the beginning of their own collection for when they grow up and have their own trees. Having ornaments on your tree that hold childhood memories is a precious gift.
Here I used a Christmas wreath that is an actual photo frame, from Michael’s Crafts. This style opens easily from the back but can only hold one image as the reverse is the photo frame backing. Cost under $5.00 and again it has a plastic circle you put in front of the photo when hung that can be used as a template to cut out your photo.
A great way to display the children’s school photos, baby’s first steps or a wedding or engagement photo.
Luminaries
A favorite holiday tradition is candles on the table. What better way to add to that than to create luminaries that glow with images of those you love?
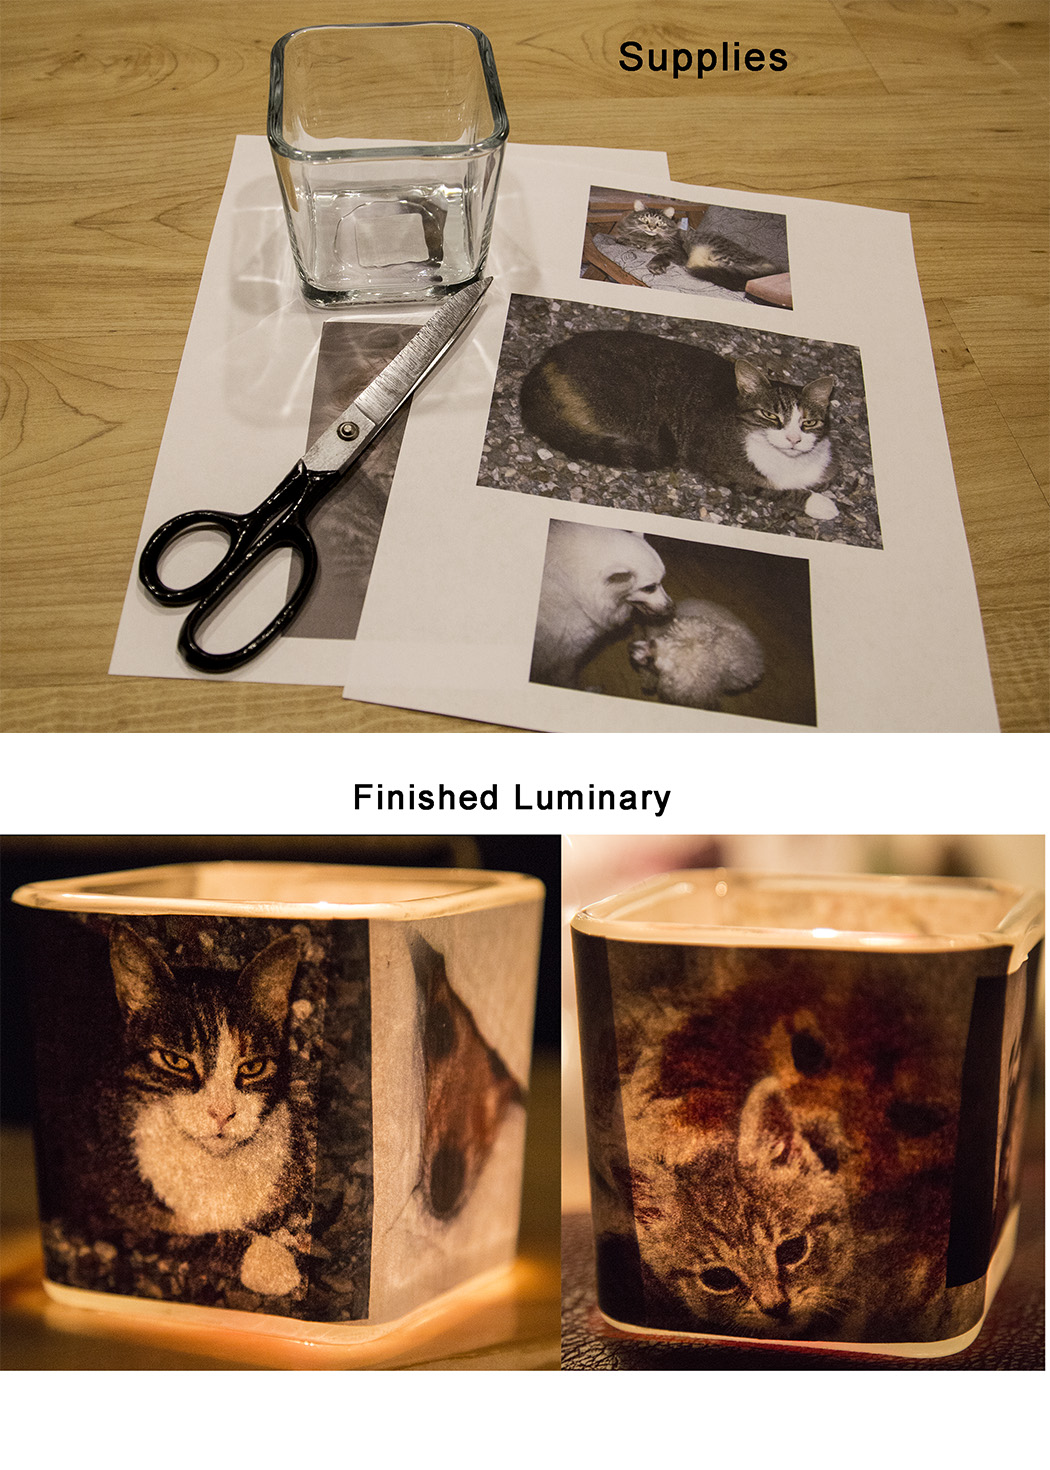
You can create a luminary using any clear glass container you have that can easily fit a candle (real or battery operated) inside of it. Options are canning jars, vases, hurricane lamp globes, etc. Here i used a simple square vase with a votive candle as my light.
Since regular photos are too thick, I took images that I had digitally on my computer of my little fur babies and printed them on regular printer paper. If you don’t want any overlap on the corners, you will need to carefully measure and cut each image. I don’t mind the darker overlap areas on the corners. Depending on the size of the container you are using and the number of images you want to use, you can let the edges overlap a bit to create a photo collage look. As long as you leave the majority as one layer thick, the light still shines through nicely.
Once your photos are cut out, you can spread a Mod Podge product glue on the glass or use watered down white glue (I used an Elmer’s glue/water mix with a small sponge paint brush). With the surface covered in glue, place your cut out images carefully on the glass. They will stick pretty well but can still be carefully re-arranged if necessary at this point. When your images are all in place, paint a layer of your glue mix over the top to finish sealing them in place.
As you can see, a small tea light candle gives enough glow in this luminary to light up the images and gives a soft glow to the room. There are a number of other methods to make luminaries, I like this one because if you only want to use this as a temporary display, you can soak the glass in hot water to remove the images and glue.
The most important part of all this is to get your images printed and share them! Enjoy your holidays and share the love of memories with family and friends! If you would like to share your favorite way of displaying or gifting photos for the holiday, please comment below!!
If you have any questions about this article or ideas for other topics you would like me to write about, please comment below or Contact Us from our web page.
If you have dreamed of having a photo-shoot that is all about you, call me to set up a complimentary consultation. You can see the studio and we can talk over coffee about how you want to be photographed. To make that happen, just click to book below! Is it a long trip to visit the studio? We’ve photographed women from all over the eastern part of the country including New Jersey, Virginia, Ohio, New York, Connecticut, Massachusetts and Rhode Island. Feel free to contact us and set up a special phone consultation! And, as you now know, Gift Certificates are available.
Book your session today!!

